Ulead Media Studio Tutorial
The reason I'm making this tutorial is because, I haven't seen any
tutorials for Ulead Media Studio: Video Editor 6.0.
All I see is Adobe Premiere tutorials, and I think this program gets
neglected. I also think that the features, and options the Ulead has to
offer, are better and easier to use/customize, then Adobe Premiere's.
Though Ulead Media Studio, and Adobe Premiere look very similar... they
do have differences.
Ok, now on to the tutorial.
In this tutorial, I will tell you the basics of making a music video with Ulead Media Studio,
and some special tips and shortcuts of my own.
First off, this is what your basic setup will look like:
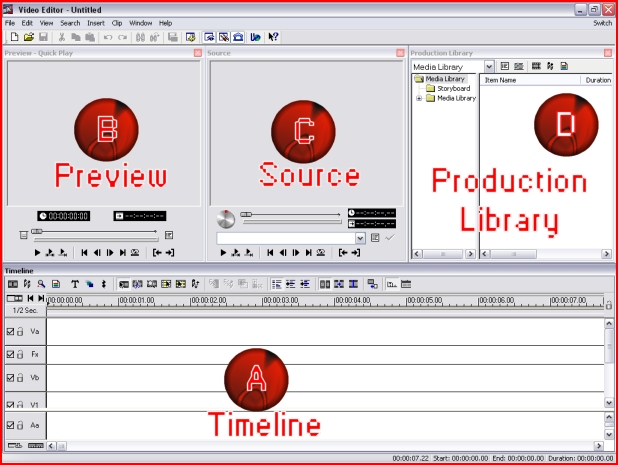
A - Timeline
This is where you will place and edit everything in your video,
(Footage, Music, Transitions, Etc.) I will tell you more about editing
in the timeline, later in this tutorial.
B - Preview Window
This is where you will preview everything in your timeline. The only
things that will not show up in the preview window are transitions and
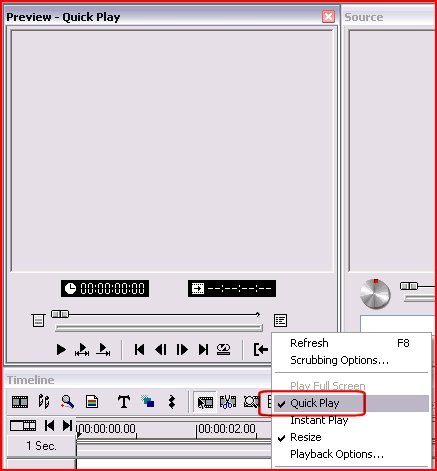
effects. Make sure that you have "Quick Play" selected in the Preview
Window's options. This will allow you to preview your video without
having to render it.

C - Source
This is what you use to create clips. Once you double click on a video
or song that you have put in your Media Library (In Production
Library), that clip will appear in this window.
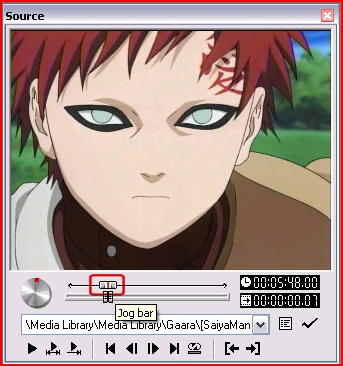
Use the "Jog Bar" to move to the
desired place within the video or audio file you are using in the
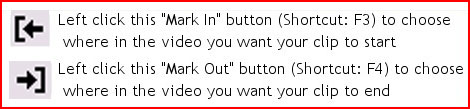
source window. Use The "Mark In" and "Mark Out" buttons to choose where
you want your clip to start and end. When the mark buttons have been
set, you can drag your clip into the "Timeline"
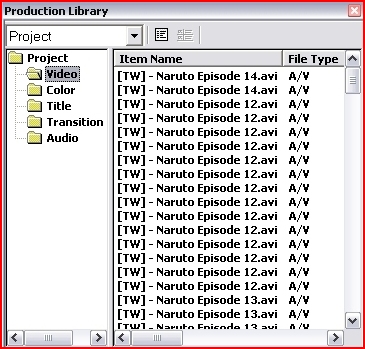
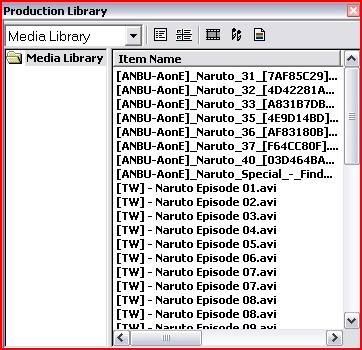
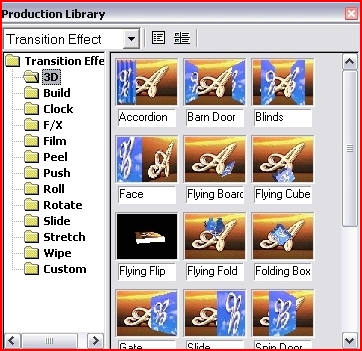
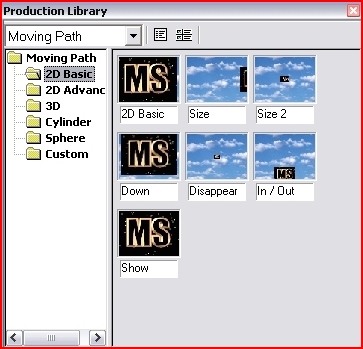
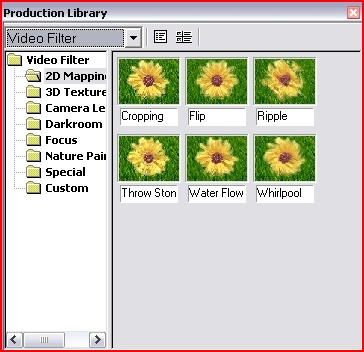
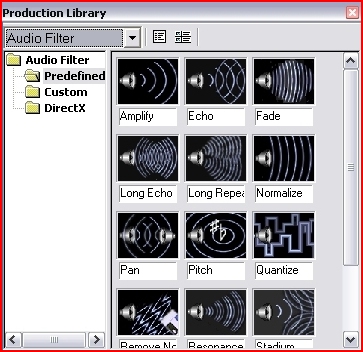
D - Production Library
This is where you will import all of your video/image/music files. You
can also view all the files that are in the timeline, view/edit
transisitions, effects, and moving filters.
Editing In the Timeline:
Once you have set up the preview window to "Quick Play" You can now
edit your clips in the Timeline, and view them by clicking the play
button in the Preview Window. A Good way to set up the timeline so that
it shows you the actual video of the clip, instead of the file name,
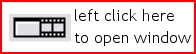
and shows the wave form of the audio, instead of the filename, is to
open the "Display Mode Window" which can be accessed when you click
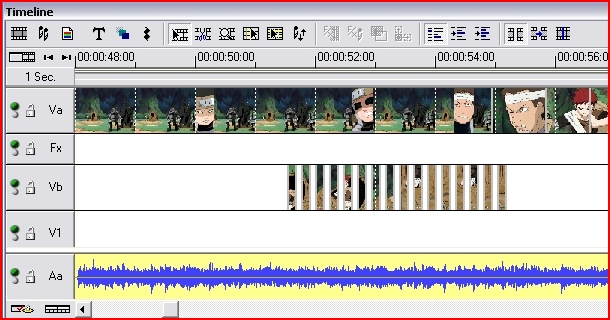
this button.
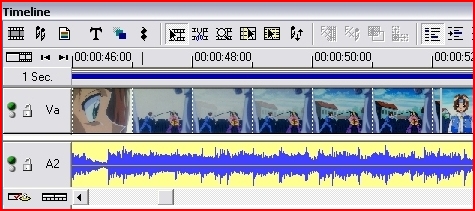
This is what your Timeline will look like, if you change the display mode.
Now, to add audio or video to the
timeline, like the picture above shows, simple right click inside the
empty timeline and select "Video File..., Image File..., Audio File...,
etc. Or you can click the buttons at the top of the timeline, that show
a film clip for importing a video, a music note for importing an audio
file, and so forth.
Now it is time to start editing. Do what I intructed in the "Source"
part of this tutorial, and drag your clips into the timeline. Then, you
will be able to edit those small clips you made with the Jog bar, and
make them even smaller! Check this out!
Well, thats pretty much the basics.
I will add a "Creating Video File (Exporting)" Tutorial to this,
sometime soon. And I will show instructions on how to do cool effects
and such in my AMV Tips section. I will also give lots of AMV advice,
as well as "do's and dont's". So keep checking back if you ever get
stuck on how to do something in Ulead. And if you ever need help with
something in Ulead, and its not on this tutorial, e-mail it to me
(breeman@dreamtheater.zzn.com) and I will add it to the tutorial!
Thanks, and good luck!
-Breeman
How to create a cool Moving Path Filter